🧩 The big picture in one breath
You're going to install one free app (Docker Desktop), download one ready-made program-in-a-box, and open ComfyUI in your web browser. ComfyUI is a visual studio where you connect little blocks like LEGO to make AI pictures — and then make those pictures move. Everything runs on your own Mac. You need the internet twice (to download the app and the AI models) — and after that you could make art on a desert island. 🏝️
1 What you need
- A Mac laptop — an Apple Silicon Mac (M1, M2, M3, M4…) or an Intel Mac. Both work.
- About 15 GB of free disk space (check: → About This Mac → Storage)
- Internet for the one-time downloads (after that, everything is offline)
- Patience 🙂 — your Mac's processor will do all the AI thinking itself, which is wonderfully private but not instant
🔒 Why "local" is the cool part
Most AI art websites send your words and pictures to a company's computers. Today, your laptop is the AI computer. Nothing you type or make is uploaded anywhere. No account. No fees. No "you've run out of free credits." It's yours.
2 What is Docker? (the lunchbox)
Big programs need lots of helper pieces to run, and if even one piece is the wrong version, the program crashes. Docker solves this by packing the program and all its helper pieces into one sealed box that runs the same way on every computer.
🍱 Think of it like…
A lunchbox. Instead of hoping your kitchen has the right bread, cheese, and jam, someone packed the whole sandwich ahead of time. Open it anywhere and the sandwich is exactly right. Someone already packed ComfyUI into a lunchbox for you — you just have to download and open it.
Four Docker words you'll see today:
- image — the sealed, ready-made box (you
pull= download it) - container — a box that is open and running
- port — a numbered door on the box. ComfyUI's door is
8188 - volume — a shelf outside the box (a normal folder on your Mac) where files are kept safe
3 Install Docker Desktop
- Go to docker.com/products/docker-desktop and download Docker Desktop for Mac. Pick Apple Silicon if your Mac has an M-chip, or Intel if it's older. (Not sure? Click the menu → About This Mac and look at "Chip".)
- Open the downloaded file and drag the whale 🐳 into Applications.
- Open Docker Desktop from Applications. The first start takes a minute.
- Wait until the little whale icon appears in your menu bar (top of the screen) and stops animating — that means Docker is ready.
🐳 The whale must be awake
Docker only works while Docker Desktop is running. If a command later says Cannot connect to the Docker daemon, it just means the whale app isn't open — open it and try again.
4 Download & start the box
Now open the Terminal app — press ⌘ Cmd + Space, type "Terminal", press Return. You'll type three commands. (Copy-paste is fine!)
# 1. download the ready-made ComfyUI box (~1 GB)
docker pull ddtraveller/comfyui-mac

# 2. make a home folder for your art and enter it
mkdir -p ~/comfyui && cd ~/comfyui

# 3. open the box (this starts ComfyUI running)
docker run -d --name comfyui --restart unless-stopped \
  --shm-size=4g -p 8188:8188 \
  -v "$PWD/models:/workspace/ComfyUI/models" \
  -v "$PWD/output:/workspace/ComfyUI/output" \
  -v "$PWD/input:/workspace/ComfyUI/input" \
  -v "$PWD/workflows:/workspace/ComfyUI/user" \
  ddtraveller/comfyui-mac
That long command #3 looks scary but it's only saying four simple things:
| Piece | What it means |
|---|---|
--name comfyui | call the running box "comfyui" so we can talk to it by name |
-p 8188:8188 | connect door 8188 on your Mac to door 8188 on the box |
the four -v lines | give the box four shelves — real folders inside ~/comfyui on your Mac — for models, finished art, your own pictures, and saved layouts |
--restart unless-stopped | if your Mac reboots, the box wakes up again by itself |
5 The model install — the box grabs its imagination
The first time the box opens, it downloads its two AI models — about 5 GB, one time only. Watch it happen:
docker logs -f comfyui # press Ctrl+C to stop watching (the box keeps running)🎨 What is a model?
A model is the AI's trained imagination — like a giant book of "this is what cats, castles, and sunsets look like," squeezed into one file of numbers. The box needs to read those books before it can draw. They're saved to the models/ shelf on your Mac, so this download never happens again.
Two models get installed, and they were chosen specifically because they're small enough to run well on a laptop processor:
| Model | Job | Size | Why this one |
|---|---|---|---|
| SD-Turbo | words → picture | ~2.5 GB | Most picture models need 20–30 "thinking steps" per image. SD-Turbo needs only 1–4 steps — perfect when your CPU is doing the work. |
| Stable Video Diffusion (SVD) | picture → short video | ~2.3 GB | A compact video model that ComfyUI supports out of the box. It takes one still picture and dreams up ~2 seconds of motion from it. |
When the log says ComfyUI is listening on port 8188, you're ready. Check with:
curl -sI http://localhost:8188 | head -1 # expect: HTTP/1.1 200 OK6 Open ComfyUI: the LEGO of AI art
Open your browser and go to:
http://localhost:8188🎉 That's ComfyUI — running on your Mac, served from inside the box. It's a node editor: each little box (a node) does one small job, and you connect them with wires so work flows left to right.
sd_turbo.safetensors.🧱 Think of it like…
A marble run. The marble (your idea) rolls in one end, passes through each machine, and finished art drops out the other end. Don't worry about building one from scratch — ComfyUI starts with a simple picture-making run already on the canvas, just like the screenshot above.
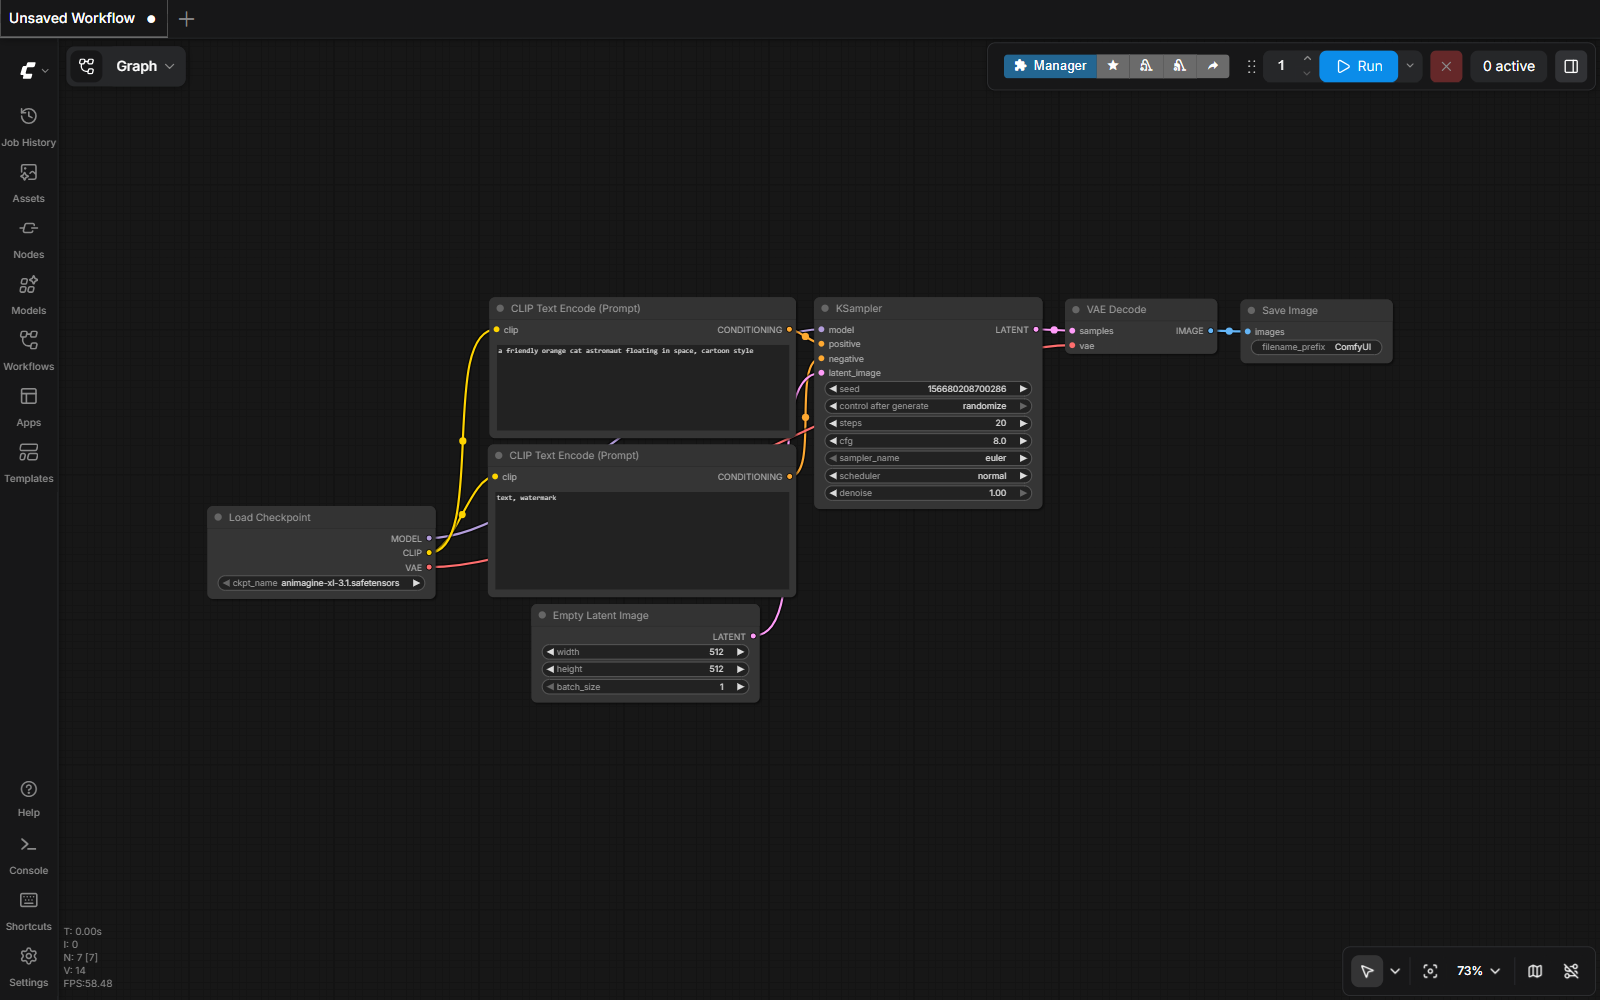
7 Your first picture (SD-Turbo)
ComfyUI opens with a default text-to-image workflow on the canvas. Make three small changes so it uses your fast SD-Turbo model:
- In the Load Checkpoint node, click the model name and choose
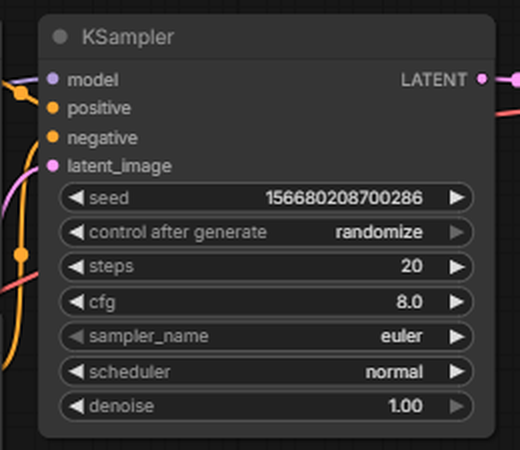
sd_turbo.safetensors. - In the KSampler node, set
stepsto 4 andcfgto 1.0. (SD-Turbo's superpower is needing almost no steps — but it wants cfg close to 1.) - In the top CLIP Text Encode node (the positive prompt), type what you want to see, e.g. "a friendly orange cat astronaut floating in space, cartoon style".
steps 20, cfg 8.0) — change them to steps 4 and cfg 1.0 for SD-Turbo. The seed is the card-shuffle number: same seed = same picture, new seed = new surprise.Then press the blue Run button at the top. Watch the nodes light up one by one as the marble rolls through. On a laptop CPU your picture appears in roughly half a minute to a couple of minutes.

💡 Make it again, but different
Every run uses a random seed — the shuffle of the deck. Queue the same prompt again and you get a different take. Like the result? Note the seed number in the KSampler so you can re-deal the exact same cards.
8 Make your picture move (Stable Video Diffusion)
Now the magic trick: turning a still picture into a short video. Build this little run (right-click the canvas → Add Node, or double-click and search by name):
(svd.safetensors)→🖼️ Load Image
(your picture)→🎞️ SVD_img2vid
Conditioning→🎨 KSampler→💾 VAE Decode →
Save Animated WEBP
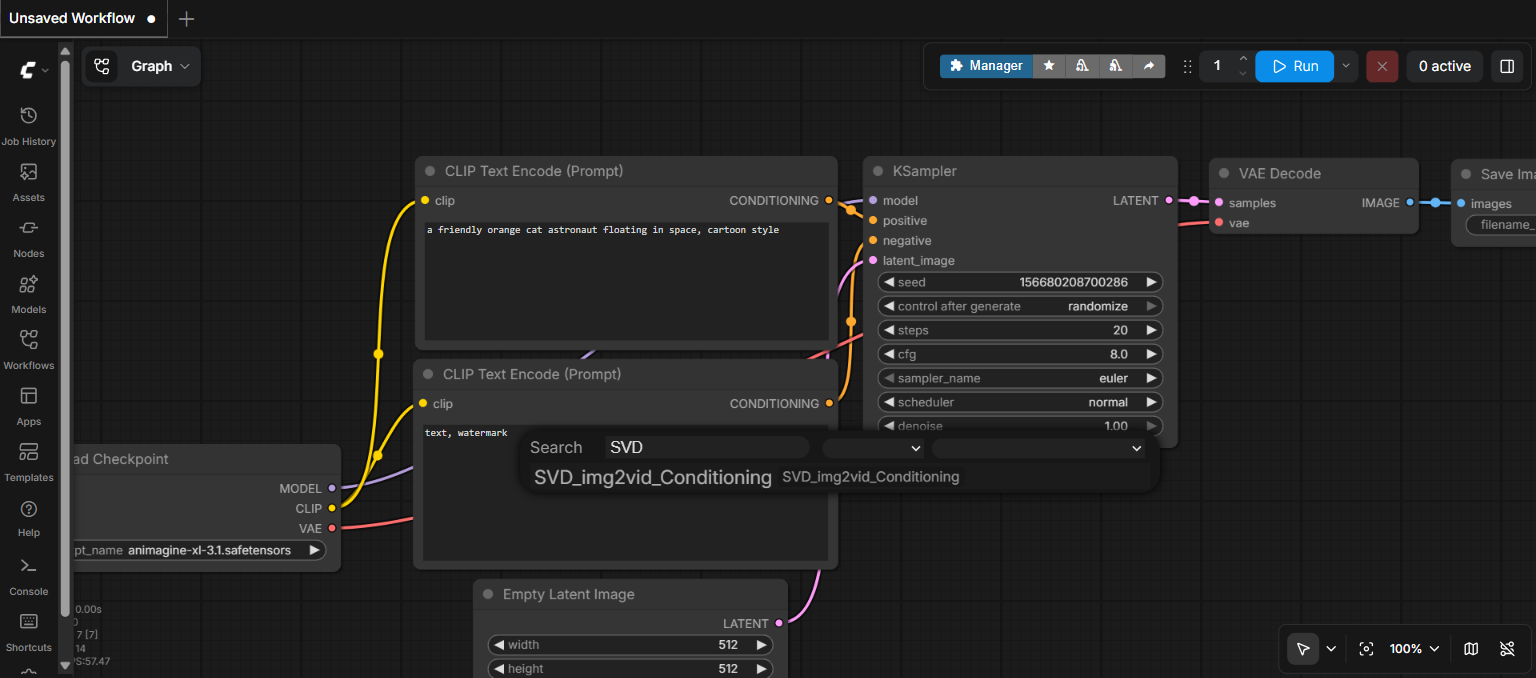
SVD, and there it is — SVD_img2vid_Conditioning, the machine that turns one picture into motion. Click it to drop it on your canvas.- Add Image Only Checkpoint Loader and pick
svd.safetensors. - Add Load Image and upload the picture you made in step 7 (or any picture!).
- Add SVD_img2vid_Conditioning, wire the loader and image into it. Start small for a CPU:
width 512,height 320,video_frames 14,fps 6. - Wire it through a KSampler → VAE Decode → Save Animated WEBP, and press Queue.
🐢 Video = lunch break
Be honest with yourself here: video is many pictures (14 frames!), and your CPU draws every one. A small test clip can take tens of minutes, even up to an hour. Start it, go have lunch, come back to a moving picture you made from nothing. Keep the size small while experimenting — bigger sizes grow the wait fast.
💡 Why small models on purpose?
On a laptop, the thing that eats time is the number of steps and pixels the model must think about. The famous giant models (10+ GB) want big GPUs and would take all day here. SD-Turbo (1–4 steps) and SVD (compact, short clips) are the right tools for the machine you actually have. Choosing tools that match your hardware is real engineering. 🔧
9 Where your art lives & the airplane test ✈️
Everything you make drops into a normal folder on your Mac: ~/comfyui/output. Open it in Finder:
open ~/comfyui/outputAnd here's the proof that it's all local: turn on Wi-Fi off / Airplane Mode and queue another picture. It still works. No internet, no cloud, no one watching — the entire AI is on your laptop. That's the whole point.
10 Stopping, starting & fixing things
# pause the box (your models and art stay safe in ~/comfyui)
docker stop comfyui

# wake it up again later — no re-download, it's instant
docker start comfyui
🩹 If something's wrong
- "Cannot connect to the Docker daemon" — the whale app isn't running. Open Docker Desktop, wait for the whale, retry.
- localhost:8188 won't load — the box may still be downloading models. Check with
docker logs -f comfyui. - Everything is slow — that's normal on a CPU, but you can help: Docker Desktop → Settings → Resources → give Docker 8 GB+ of memory and most of your CPUs.
- Out of disk space — the models need ~5 GB plus working room. Free up space, then
docker start comfyuiagain; it resumes where it left off. - A video came out weird (flicker, melted shapes) — change the seed and queue again; small models occasionally dream strangely. Re-rolling is part of the craft.
✅ Your adventure checklist
Tick each box as you go. Your progress saves in this browser automatically.
Saved on this device only. Nothing is sent anywhere — just like your art.